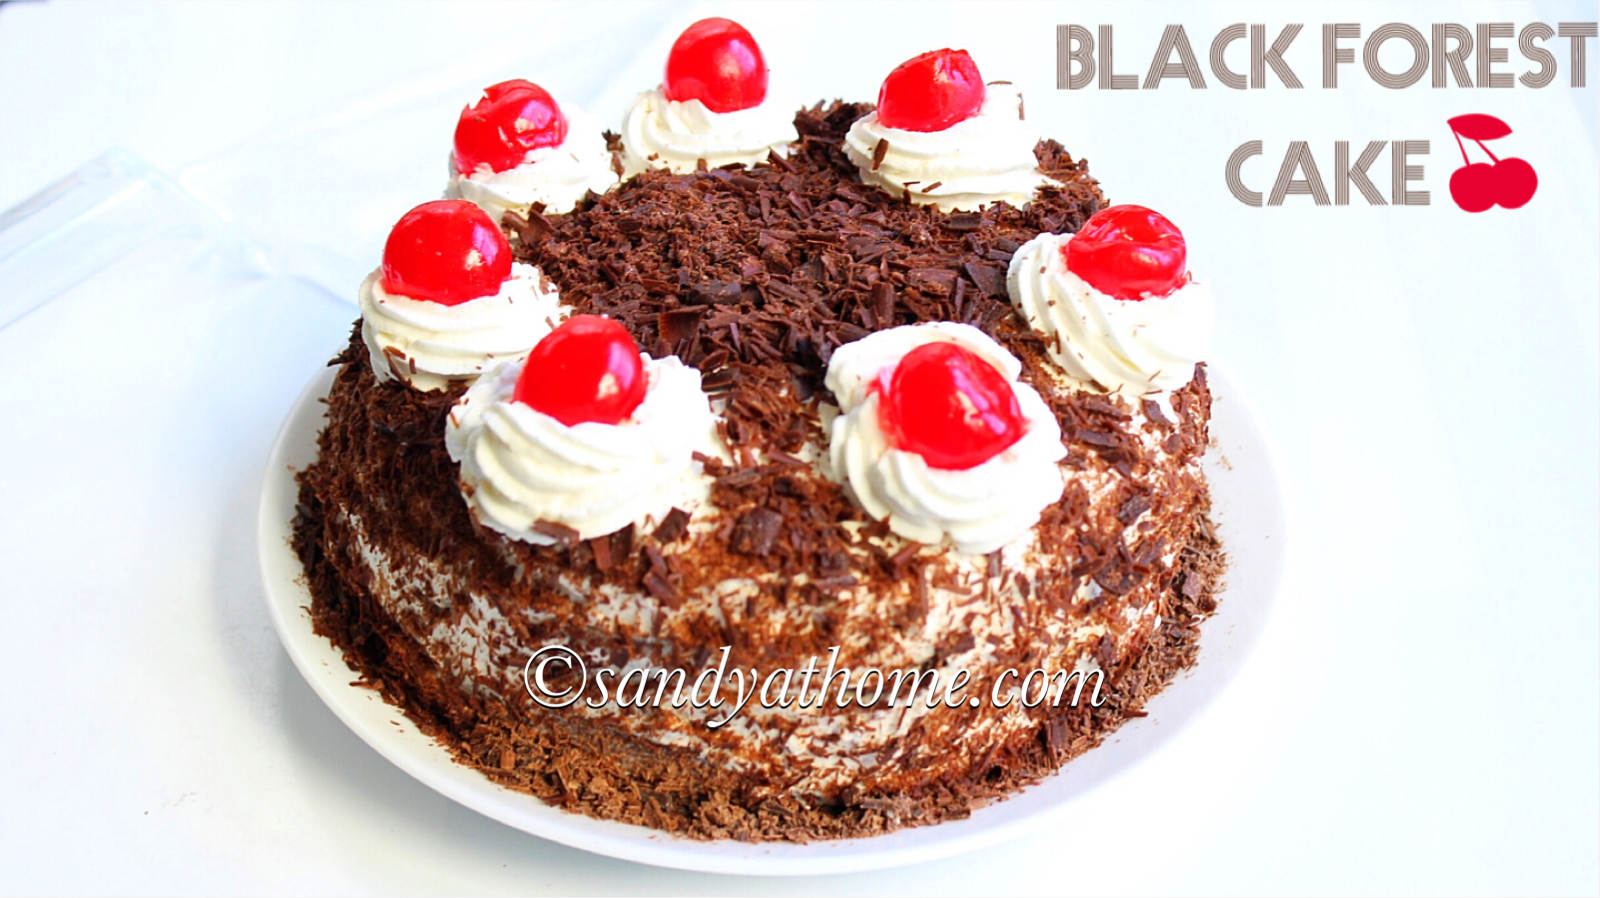
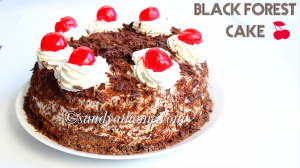
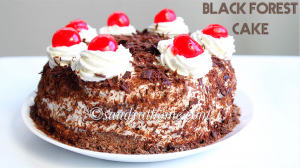
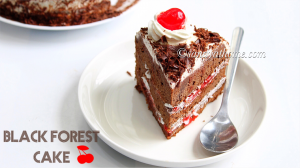
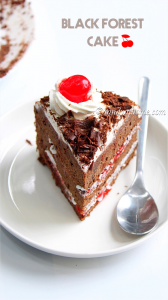
A very well known and most popular cake that all the bakeries in the world shall hold as it is super delish. Black forest cake is a layered chocolate cake covered and filled with rich cream frosting, cherries, syrup and chocolate curls/ shavings. A simple and super moist chocolate cake that can be easily converted into a yummy black forest cake with just few ingredients that are easily available in the market. Though the cake might look something impossible to achieve for beginners like me, trust my words it is super duper easy to make at home and of course fun too.
I actually made this cake as a surprise one for this year’s valentine’s day and my family adored it I should say. The very same day I got everything ready to post except the making as I really dint know how to explain it in a way understandable to anyone. Even now I tried my best to explain the process in simple words and I hope it is understandable. I am a huge fan of this cake and anywhere I find it, a big slice of this cake shall make my day and till date most of my birthday cakes be black forest as I m too crazy for it. And imagine when you make it at home all by urself the happiness is super doubled right? My husband is not a big fan of this cake as it is made with chocolate cake and since I made it at home he ate at least 3 pieces of the cake without any complain which made my valentine’s day.
That makes us even more happy right?
The thought of trying this came to me from a very long time but I was just pushing it as I was little nervous to keep my hands on frosting as I am very beginner at it. But I was little confident that any mishap that takes place while covering the cake with frosting can be covered fully. But again only cracks can be covered and not the taste. For that you need good tasting cake and perfect frosting in hand?. But at the end of the day all that speaks is taste and most importantly the initiative to try. Guys never give up in life for any matter nor for any other person’s words just ignore the negativity and just continue with your work, just be yourself and there is no need to prove yourself to anyone.
So PIYUSH finally I was able to accept your request and I hope I made a good job on it. Sorry you asked me to post the recipe 6months back but I was skeptical to try it and picture it, I m super happy that I fulfilled your request. I am not a professional at baking as I try recipes just for my family but I can say with confidence that I am good at cooking because those skills I just inherited from my family.
So lets get to the making!
[sam id=”1″ codes=”true”]

- 1. All purpose flour/ Maida – 1 cup
- 2. Cocoa powder – ½ cup
- 3. Baking powder – ½ tsp
- 4. Melted butter – ½ cup
- 5. Sugar – ¾ cup
- 6. Eggs – 3
- 7. Milk – ¼ cup
- 8. Vanilla syrup – 1 tsp
- 9. Cherries – ¾ cup
- 10. Cherry syrup – ¼ cup
- 11. Chocolate curls/ shavings – ½ cup
- 1. Cream – 1 cup
- 2. Powdered sugar – 2 tbsp
- 3. Vanilla syrup – ¼ tsp
- * 1 cup = 235 ml
- In a bowl add all purpose flour, cocoa powder and baking powder. Mix well until combined. Keep this aside.
- In another wide bowl add sugar and melted butter. Mix well and until creamy and combined.
- Now break 3 eggs and vanilla syrup in the same bowl. Whisk it well until combined.
- Now to the egg mixture add water.. Mix really well until everything is well combined. Now to this wet mixture add the flour mixture through a sieve.
- Mix everything really well. Now add milk and mix well to form a dense cake batter.
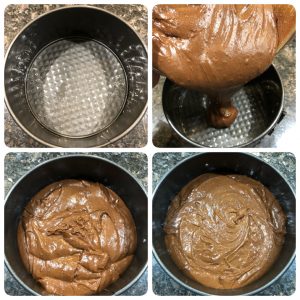
- Grease a loaf pan/ cake pan with butter/ oil. Now pour the batter in it.
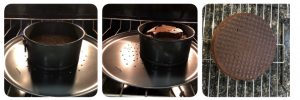
- Now place it in preheated oven at 350 degree and bake for 40- 45 minutes. Mine took only 40 minutes. If it is not done in the prescribed time keep it for some more time. When done insert a toothpick in the center of the cake to check if it is fully baked. Keep it in a cooling rack and allow it cool down. Every oven is different so it can take more or less time for baking.
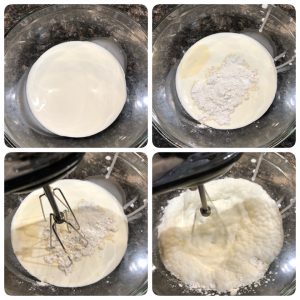
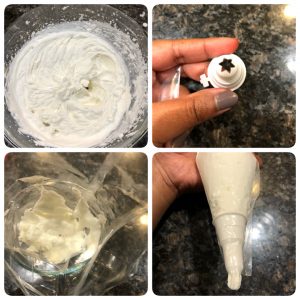
- Meanwhile, In a wide bowl add ½ pint whipped cream, sugar and vanilla syrup. Using a hand blender beat the cream until stiff peaks form. The frosting should look light and thick in consistency. Now cover this frosting and keep the bowl of frosting inside the fridge until ready to use.
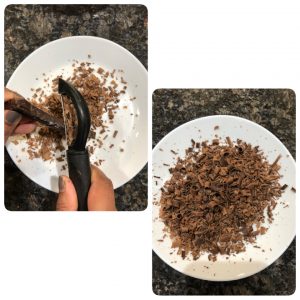
- Now using a peeler peel/ shave the chocolate bar and you will get beautiful shaving or chocolate curls to decorate the cake. Keep this aside.
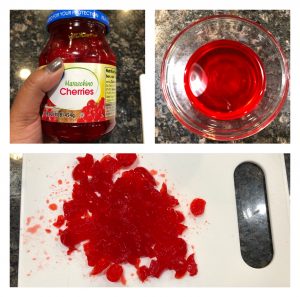
- From the bottled cherries reserved ½ cup syrup and chop ¼ cup cherries roughly and reserve around 10 full cherries for decoration.
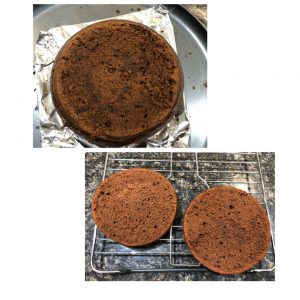
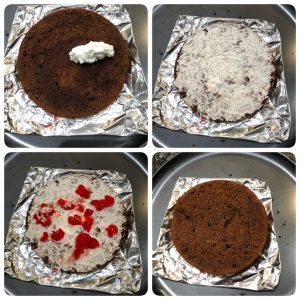
- Now when the cake is completely cool, slice the cake into layers. Cut each layer in half horizontally. I got 3 layers from my cake. I chopped the top layer of my cake as it cracked. You can leave yours just like that.
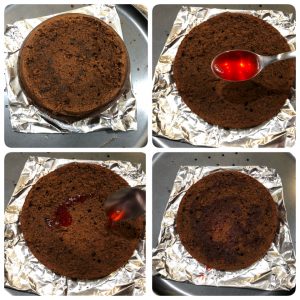
- Now on a cake plate/ tray place the bottom layer of the cake. Spread few tablespoons of cherry syrup that we reserved earlier.
- Now add 1/3 cup of frosting on to this layer of cake drenched in cherry syrup. Then add 2 tbsp of chopped cherries. Now place another layer of cake onto this frosted layer of cake.
- Now repeat the same process.
- Now place the first layer of cake, add syrup and frost the cake thoroughly with frosting. Take your time to cover it properly.
- Now add the remaining frosting to the pastry bag/ piping bag with star disc. Seal the end tightly.
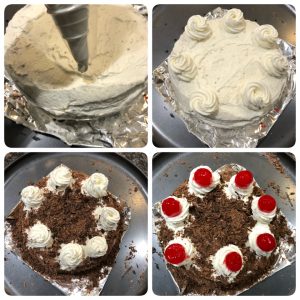
- Pipe designs of your choice on the cake. I tried to imitate the round shapes that traditional black forest cakes hold, but you can make any design of your choice. Now cover the sides and top of the cake with chocolate shavings. Finally place cherries on the piped roundels of cream. Now refrigerate the black forest cake for 4 hours after which it will be ready to use. Voila our black forest cake is ready!
How to make black forest cake with step by step images
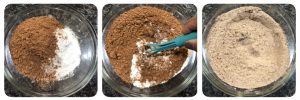
- In a bowl add all purpose flour, cocoa powder and baking powder. Mix well until combined. Keep this aside.

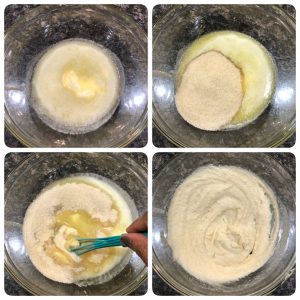
- In another wide bowl add sugar and melted butter. Mix well and until creamy and combined.

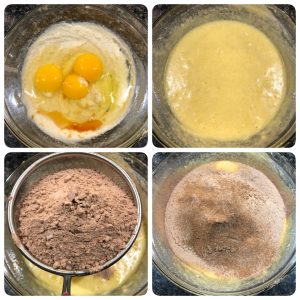
- Now break 3 eggs and vanilla syrup in the same bowl. Whisk it well until combined. Now to the egg mixture add water. Mix really well until everything is well combined. Now to this wet mixture add the flour mixture through a sieve.

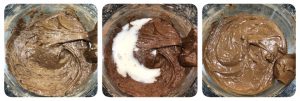
- Mix everything really well. Now add milk and mix well to form a dense cake batter.

- Grease a loaf pan/ cake pan with butter/ oil. Now pour the batter in it.

- Now place it in preheated oven at 350 degree and bake for 40- 45 minutes. Mine took only 40 minutes. If it is not done in the prescribed time keep it for some more time. When done insert a toothpick in the center of the cake to check if it is fully baked. Keep it in a cooling rack and allow it cool down. Every oven is different so it can take more or less time for baking.

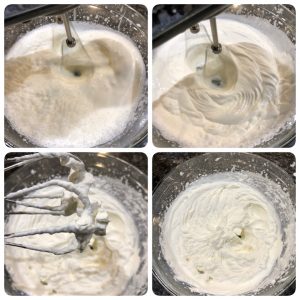
- Meanwhile, In a wide bowl add ½ pint whipped cream, sugar and vanilla syrup. Using a hand blender beat the cream until stiff peaks form. It shall take about 10 minutes.

- The frosting should look light and thick in consistency. when the peaks have formed as shown in 3rd pic in collage cover this frosting and keep the bowl of frosting inside the fridge until ready to use.

- Now using a peeler peel/ shave the chocolate bar and you will get beautiful shaving or chocolate curls to decorate the cake. Keep this aside. I used hersheys chocolate bar to create the curls.

- From the bottled cherries reserved ½ cup syrup and chop ¼ cup cherries roughly and reserve around 10 full cherries for decoration.

- Now when the cake is completely cool, slice the cake into layers. Cut each layer in half horizontally. I got 3 layers from my cake. I chopped the top layer of my cake as it cracked. You can leave yours just like that.

- Now on a cake plate/ tray place the bottom layer of the cake. Spread few tablespoons of cherry syrup that we reserved earlier.

- Now add 1/3 cup of frosting on to this layer of cake drenched in cherry syrup. Then add 2 tbsp of chopped cherries. Now place another layer of cake onto this frosted layer of cake.

- Now repeat the same process.

- Now place the first layer of cake, add syrup and frost the cake thoroughly with frosting. Take your time to cover it properly.

- Now add the remaining frosting to the pastry bag/ piping bag with star disc. Seal the end tightly.

- Pipe designs of your choice on the cake. I tried to imitate the round shapes that traditional black forest cakes hold, but you can make any design of your choice. Now cover the sides and top of the cake with chocolate shavings. Finally place cherries on the piped roundels of cream. Now refrigerate the black forest cake for 4 hours after which it will be ready to use. Voila our black forest cake is ready!

[sam id=”2″ codes=”true”]
